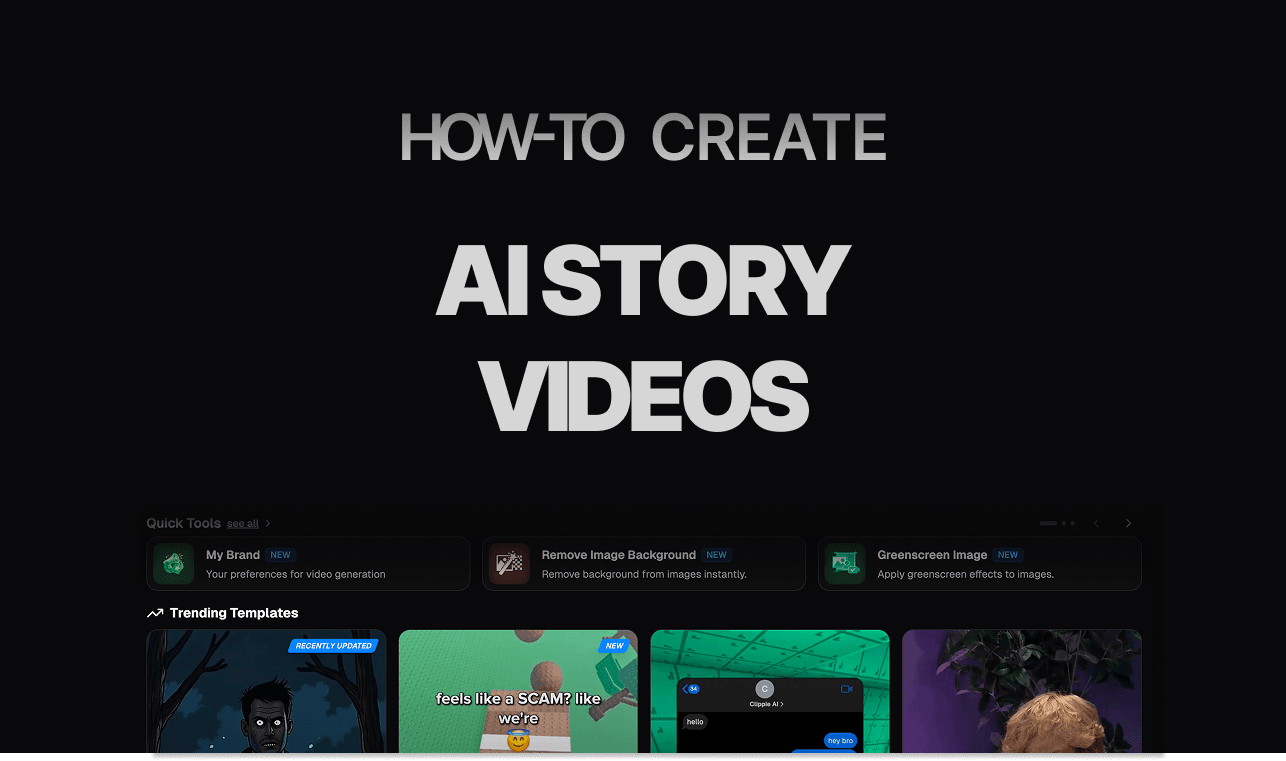
How to Create AI Story Videos with Clippie AI (2026 Guide)
Learn how to create engaging AI story videos using Clippie AI. This step-by-step guide shows how to generate scripts, choose voices, create scenes, and produce faceless story videos optimized for short-form platforms.
Introduction
AI Story Videos let you turn simple ideas into fully animated story videos using AI generated scripts, voices, images, and scene animations. This feature is built for creators who want to produce engaging faceless content without complex editing or storytelling tools.
With Clippie AI, you can generate a complete story from a prompt, choose a voice, create visual scenes, animate images, and customize every part of the video. It’s ideal for short form platforms like TikTok, YouTube Shorts, and Instagram Reels where storytelling and visuals matter most.
In this guide, you’ll learn how to use the AI Story Video in Clippie AI to create engaging story videos efficiently, so you can focus on publishing more content with less effort.
Step 1: Create Your AI Story Script
Every great AI story video starts with a strong script.
Go to Templates and select AI Story Video.

Click the AI Script Writer and enter a detailed prompt describing the type of AI story you want.
For example, “Write a dramatic AI story about a mysterious disappearance with a twist ending.”
Select your preferred script duration.
Click Generate and let the AI craft your script for you.

You can also upload your own voiceover directly into the script if you already have one.
Choose your preferred art style to match the mood of your story.

Pro tip: The more detailed your prompt is, the more engaging, emotional, and visually consistent your AI story will be.
Step 2: Generate Scenes and Voiceover
Once your script is ready:
Go to the Voice section.
Select a voice character from Clippie’s voice library.

Click Generate Scenes.
Choose your aspect ratio and generation mode.
Click Generate Scenes again to create the scenes and voiceover.

This step transforms your script into fully generated scenes with visuals and narration. Normal mode averages 5–8 seconds per scene, while Fast mode uses 2 images per scene with 2–3 seconds per transition.
Step 3: Customize and Animate Your Scenes
After the scenes are generated, you can fine-tune every part of your story:
Regenerate images with a new prompt if you want a different visual style.
Replace the current image with another one.
Edit the motion of each image.
Animate images within a scene.
Upload additional images or videos, or generate new ones with AI.
Adjust the timeline for each image inside the scene.
Play the scene voiceover, regenerate it, or adjust the playback speed.
Click any word to edit the text or add sound effects.
Use the emoji icon beside a phrase to add emojis.
Remove all sound effects if needed.
Disable a scene entirely if you don’t want it included.

Note: Animating scenes requires AI credits. AI credits are not included in the subscription and are available as top-ups. The cost depends on the animation model, resolution, and duration. Seedance 1.0 Pro Fast is the most affordable option and offers the best quality for scene animation.
Step 4: Add Background Music and Video Effects
Now it’s time to polish your video:
Go to the Background section.
Choose background music or upload your own audio.
Adjust the music volume if needed.
Add a watermark using text or an image.
Adjust playback speed, transition styles, and visual effects.
Select a video overlay to enhance the overall look.

This step helps set the mood and makes your AI story feel more cinematic and professional.
Step 5: Style Your Captions for Engagement
Captions are essential for short-form platforms like TikTok and YouTube Shorts.
Go to the Captions section.
Browse multiple caption templates with live previews.

Choose a caption style that fits your story.
Adjust the caption position on screen.
Change the font style, size, and color to match your visuals.

Well-designed captions help keep viewers watching, even without sound.
Step 6: Render and Export Your Video
Once everything looks and sounds right:
Click Export.
Press Render Video.

Your AI story video is now ready to post on TikTok, YouTube Shorts, Instagram Reels, or any other platform.
Bonus: Get 1-on-1 Support in Our Discord Community
If you get stuck or want personalized help, join our Discord community. Our team offers 24/7 one-to-one support to help you go viral with your content.
Click me to join our discord community!
FAQs: Using AI Story Videos
Q: What is an AI Story Video? A: It’s a fully generated video created from an AI-written script, AI voices, images, and animations designed for short-form platforms.
Q: Do I need AI credits to use AI Story Videos? A: Yes, AI credits are required for animating scenes. They are not included in your subscription and can be purchased as top-ups.
Q: Can I customize the voices used in my AI Story Video? A: Yes, you can select from a variety of AI voice characters in Clippie’s library to match the tone and style of your story.
Q: How long does it take to generate scenes? A: Normal generation mode takes about 5–8 seconds per scene. Fast mode creates shorter scenes with 2 images per scene and 2–3 seconds per transition.
Related Blog Posts
How to Replace Image Backgrounds with a Solid Color Using Green Screen (2026 Guide)
How to Remove Image Backgrounds with Clippie AI (2026 Guide)
How to Convert Videos Easily with Clippie AI (2026 Guide)
Click Me To Start Creating With Clippie AI Now!
Read more
Best Runway ML Alternatives in 2026, Cinematic AI Video Tools for Faceless Content Creators
Find the best Runway ML alternatives in 2026 for faceless creators, why the multi-tool problem limits scale, Clippie AI vs Runway ML full comparison, cinematic quality guide, and plan recommendations.
Best Opus Clip Alternatives in 2026, AI Tools That Do More Than Just Clip Your Videos
Find the best Opus Clip alternatives in 2026 for faceless creators, why clipping tools fall short for original AI production, full Clippie AI vs Opus Clip comparison, migration guide, and plan recommendations.

How YouTube Automation Channels Make Money in 2026, The Complete AdSense and Affiliate Blueprint
The complete guide to how YouTube automation channels make money in 2026, niche selection by CPM, AdSense optimisation, affiliate stack blueprint, Clippie AI production system, and revenue projections at 10K, 50K, 100K.